
What are GL Groups?
GL Groups are used in your Association's Financial Documents to separate GL accounts into Groups or sections.
For example, you may want to group your expenses in the following way:
Landscaping
6000 - Lawn Maintenance
6100 - Irrigation
6200 - Pruning
6300 - Pressure Washing
Admin Expenses
9000 - Management Fees
9100 - Postage
9200 - Copies
9300 - Office Supplies
Using GL Groups, you are able to set a range of GL Accounts under a certain header, or "Group". In the above example, all GLs between 6000 - 6400 would fall into the Landscaping Group, while all GLs between 9000 - 9400 would be in the Admin Expenses Group.
Creating GL Groups
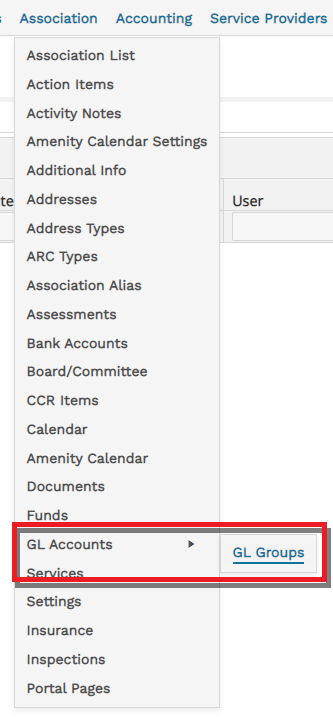
Navigate to Association > GL Accounts > GL Groups.
As it is under the Association menu, this page is association specific.
New associations will follow the Model Association. For existing associations, they will automatically copy the model unless changes to that association's GL Groups have been made. Once an association is edited, it no longer follows the model. For more information on the Model Association, visit What is the Model Association and How Does it Work?
Note: In order for an Association to begin following the model after changes are made, you will need to delete all groups in that association and refresh your page.
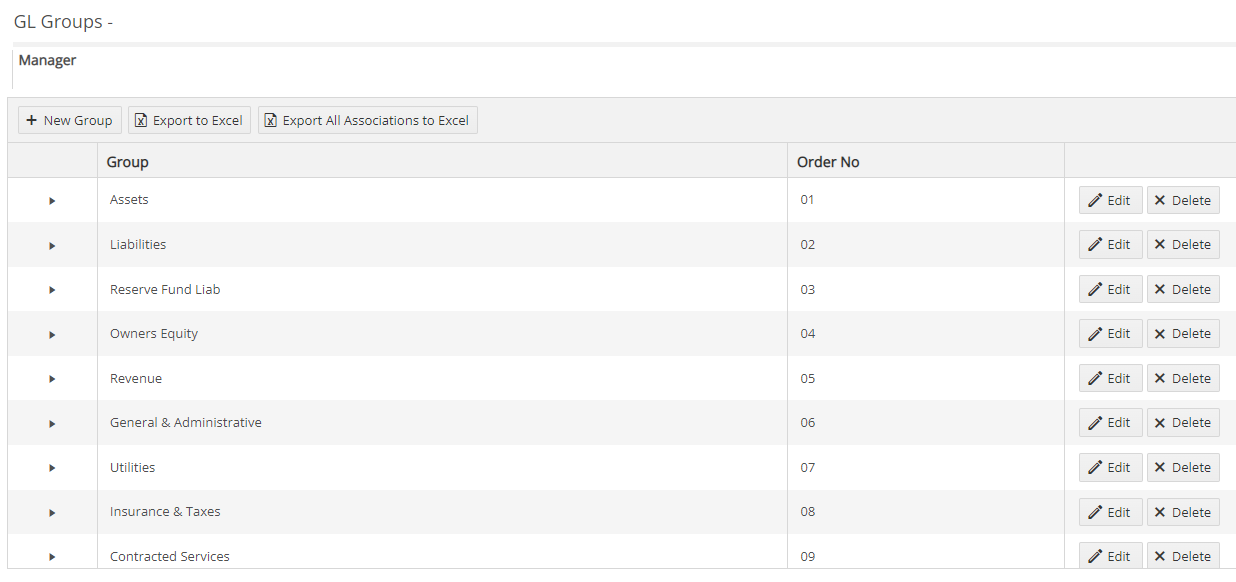
This page will display the GL Groups and the Order Number. You can edit the Group name or Order Number by clicking Edit.
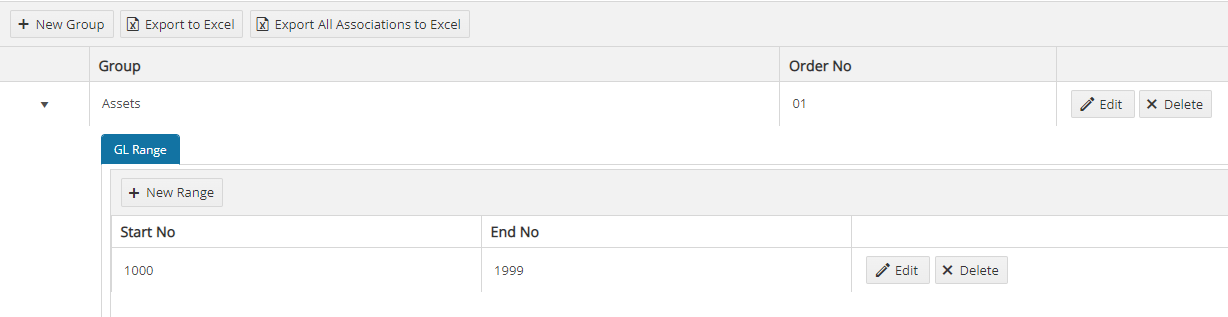
Clicking the dropdown next to a Group will show you the GL Range. All GL Account numbers that fall within that range will appear in the Group above. In the example below, all GLs from 1000 - 1999 will appear in the Assets Group.
Creating a New GL Group
- Click the + New Group button to create a new Group. Make sure the Group name and Order No are unique. This may require editing the order number of other existing Groups.
- Enter the "Group Name" in the Group column. The name entered here will display on produced financial documents.
- Enter the desired order number in the Order No column. This will impact the order that groupings display on your documents.
- Click Update.
Note: If you have created more than 10 groups, you will want to make sure that the formatting of your "Order No" field appears as "01, 02, 03" and NOT "1, 2, 3".
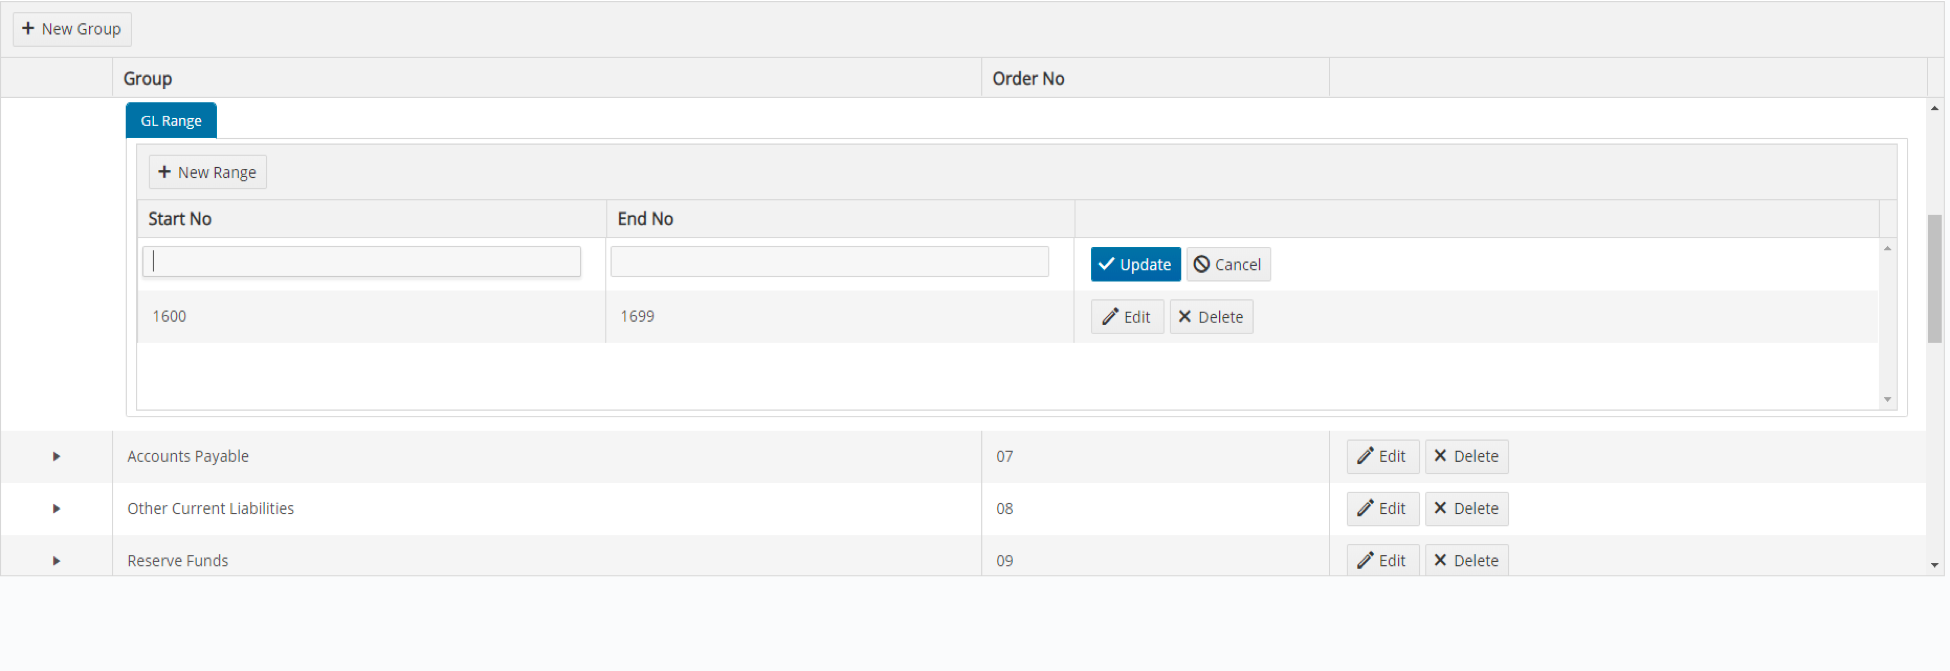
Entering a new Range
- Click the dropdown arrow next to the desired Group.
- Click + New Range.
- Enter the Start No and End No of the Range.
- Keep in mind that Both the Start and End GL numbers will fall into this Range.
- For example: If the Range is 1000-1999, GL 1000 will be included, but GL 2000 will not.
- Click Update.
Each range must be unique. This means that there cannot be any overlap in the ranges. You cannot have both 1000 - 2000 AND 2000 - 3000.
It is also important to have all GL numbers represented. If a GL falls OUTSIDE of all GL Groups, it will not be displayed in Financial Documents.
Changing/Editing a GL Group
The Group name or Range can be changed at any time.
Note: This will impact how statements are displayed moving forward, but will not change anything already produced as a PDF.
You may need to make existing Groups smaller to accommodate new Groups. You can also add individual codes to existing groupings if necessary. This can be accomplished by adding a New Range or editing the existing range of a Group.
Deleting a GL Group
Make sure no codes exist within a Group before deleting it. Any used GL code not included in a Group will no longer be pulled into reports. This will cause your balance sheet to be out of balance even though your GL is in balance, and your net income not to tie between the balance sheet and income statement.
Comments
0 comments
Please sign in to leave a comment.